
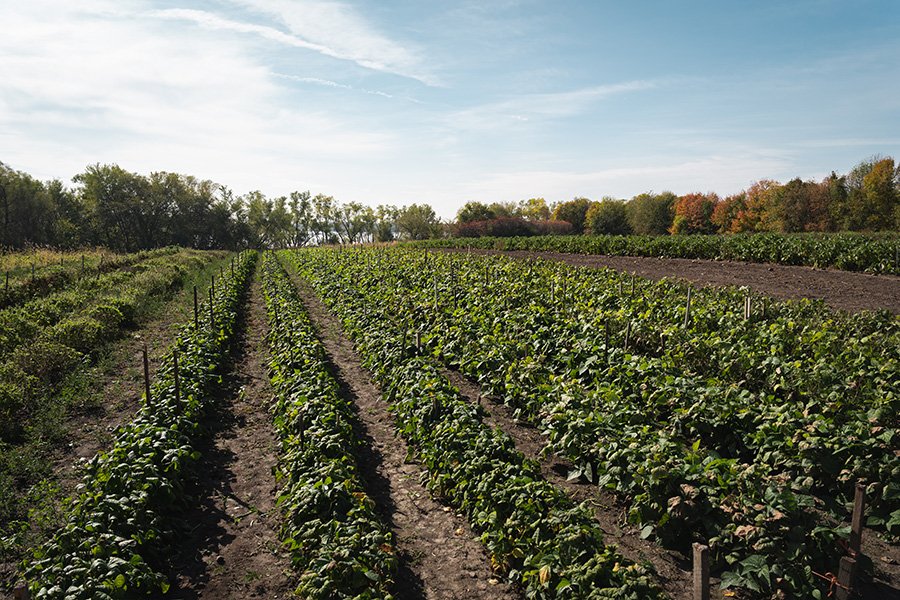
Farmer Trading Card Templates
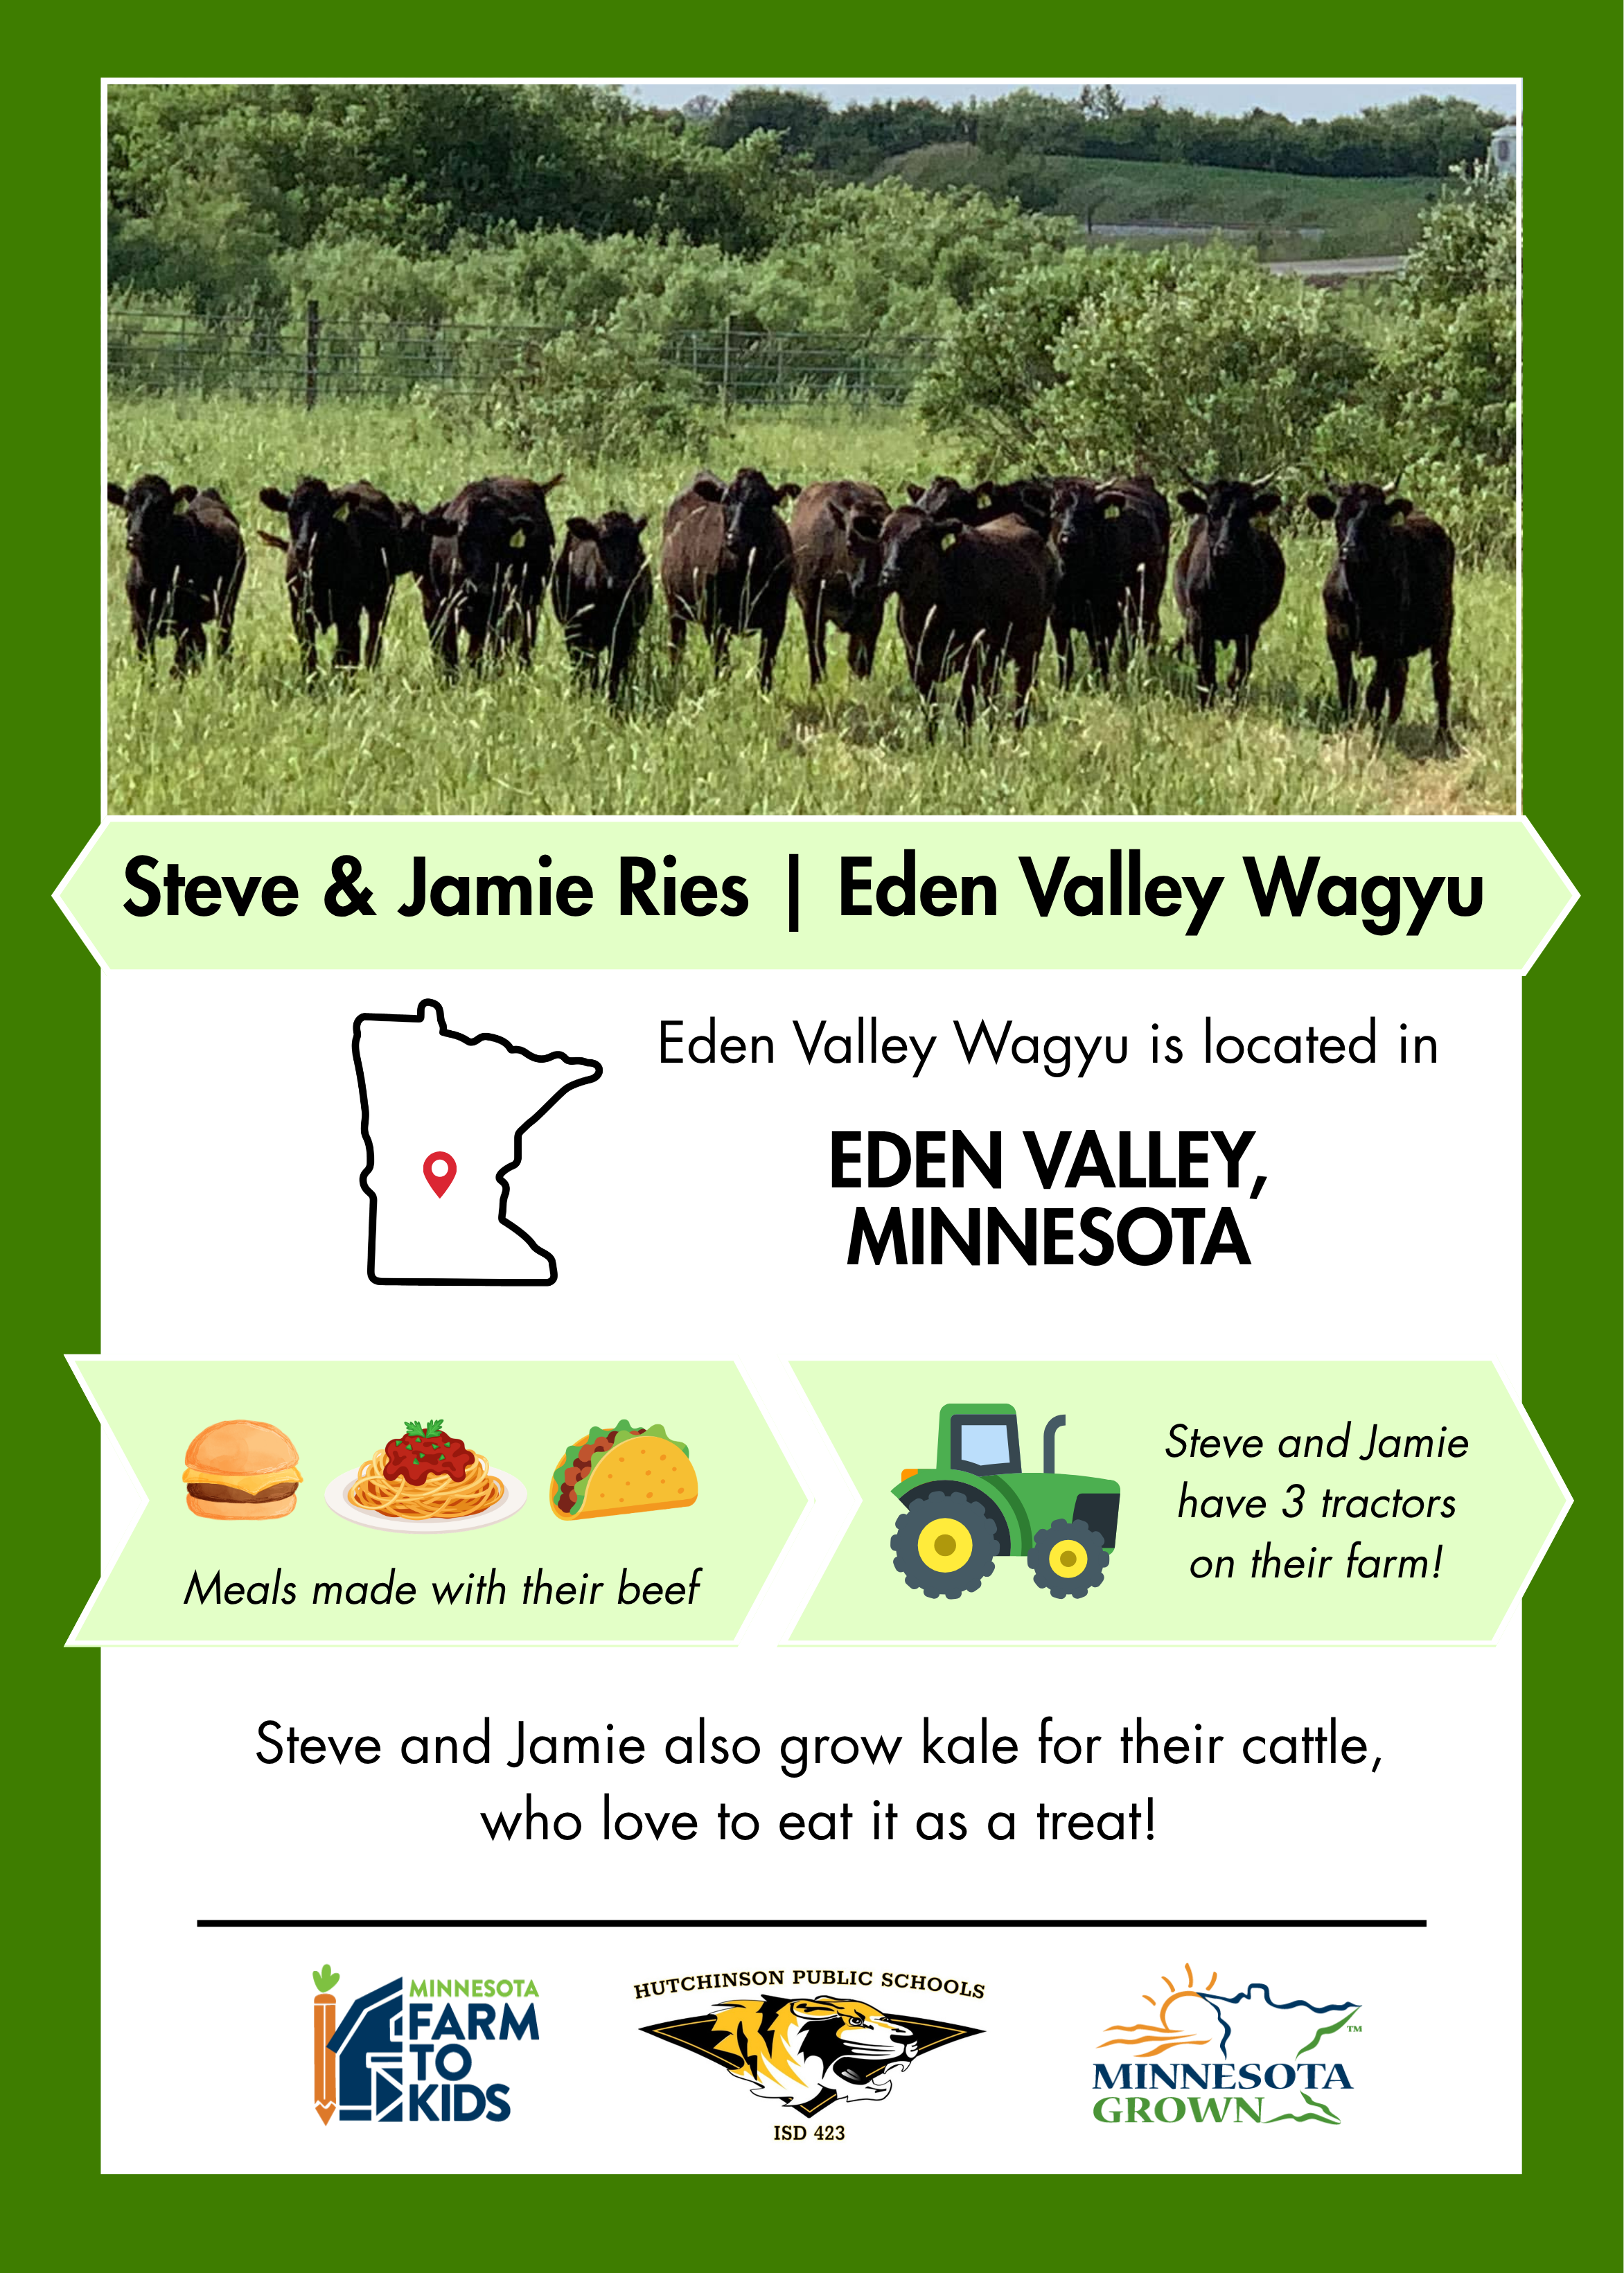
Farmer trading cards are a great way to connect students to local food by getting to know farmers in their community. Much like a trading card for a baseball player or athlete, farmer trading cards can include photos, information, and fun facts about local farmers and their farms. What you choose to highlight on your trading cards is completely up to you – but this template, developed by the Minnesota Department of Agriculture (MDA), offers a place for you to start and removes the burden of creating a design from scratch.
Below, you’ll find everything you need to know about using our template to create your own trading card designs – from how to choose your farmers and how to customize your design to ideas for engagement once your trading cards are finished. We can’t wait to see what you do with them!
Questions? Reach out to Kate Seybold at kate.seybold@state.mn.us.


Choosing Farmers and Gathering Information
When choosing farmers to feature on your trading cards, we encourage you to consider farmers who:
You already work with and/or buy from
Engage with your school community (visits classrooms, the lunchroom, hosts farm tours for staff, etc.)
Grow or raise different products (i.e. vegetables, dairy, beef, grains)
Once you’ve chosen your farmer(s), reach out to them to see if they’d be willing to be featured on a trading card. Explain the purpose of the trading cards, and how their participation would benefit them. Not sure what to say? Use our email template!
Once the farmer(s) have agreed to be featured, share our pre-made farmer questionnaire with them to fill out or respond to. Feel free to edit this questionnaire as you see fit – think about the information that will pique the interest of your students.
Designing the Trading Cards
Open the farmer trading card template link above.
Select “View Template”
Select “Open in editor” using an existing Canva account, or follow the prompts to create a new account.
Decide what base color(s) you would like to use for your design(s). There are 5 to choose from: red, yellow, green, blue, and purple. Delete the pages you won’t be using.
Fill out the template!
Replace bracketed text with the personalized information you gathered from the farmers. The information you choose to include is completely up to you!
Think about what information is going to be most interesting and captivating for your students.
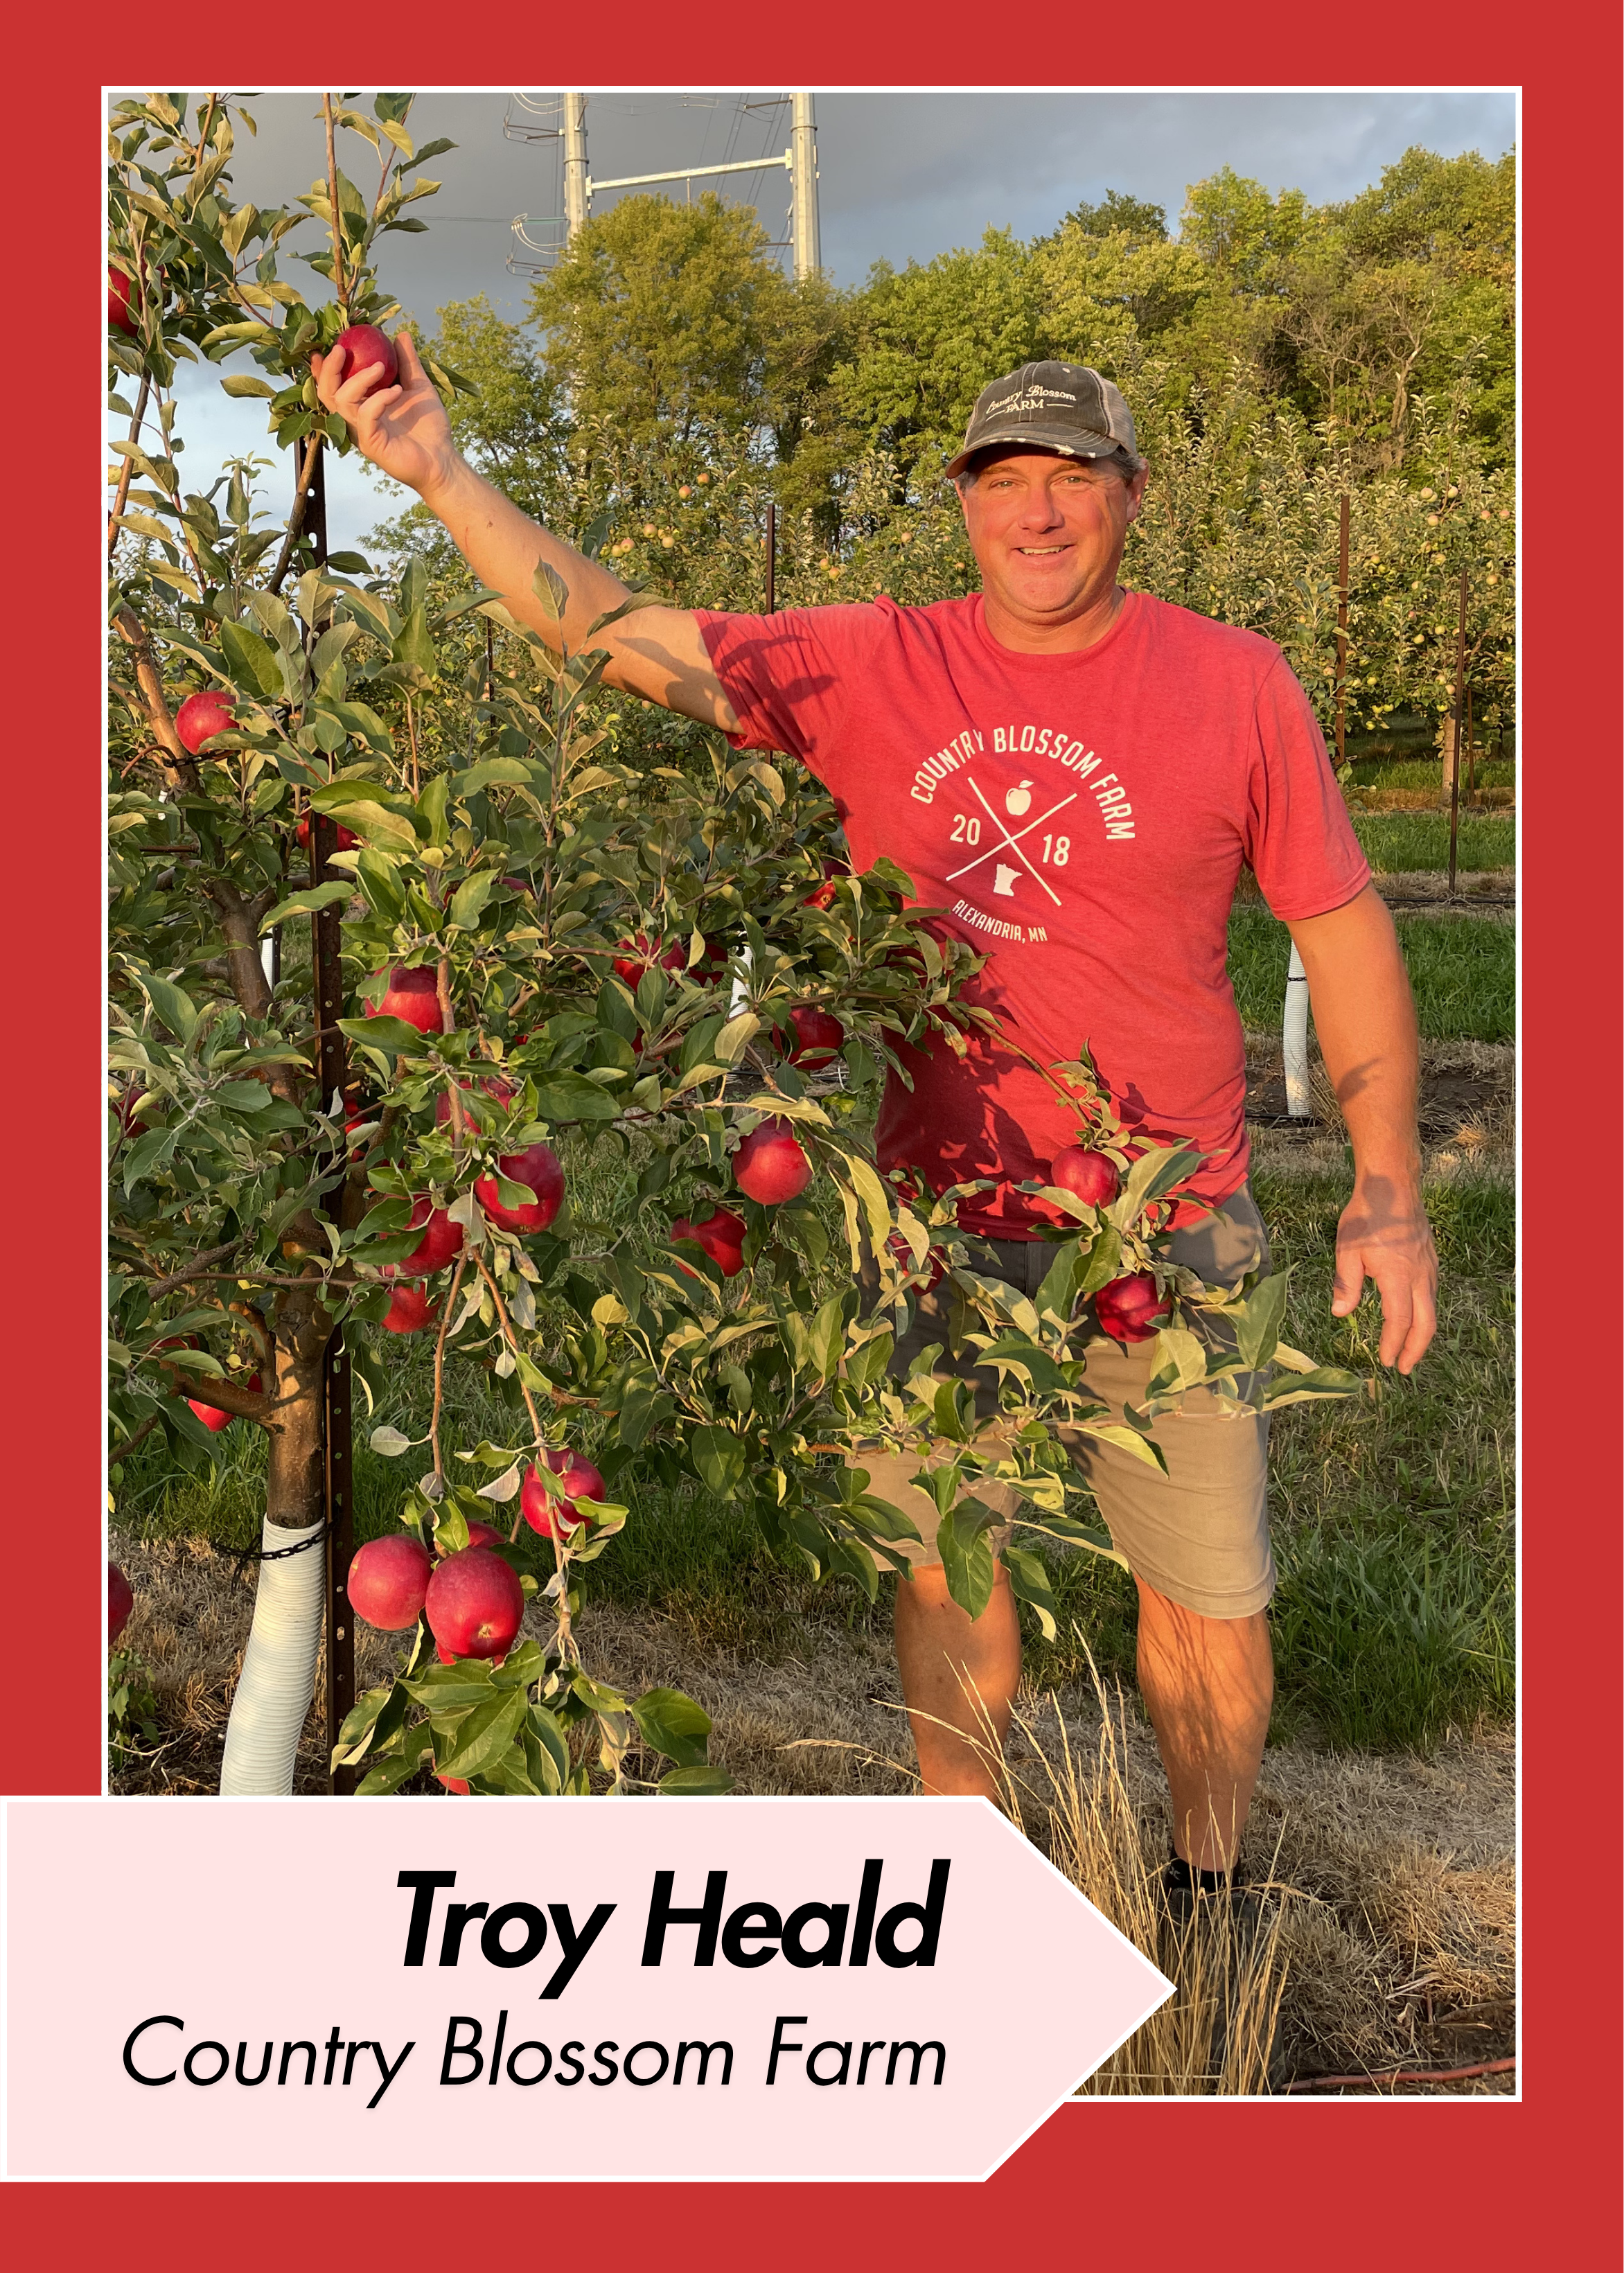
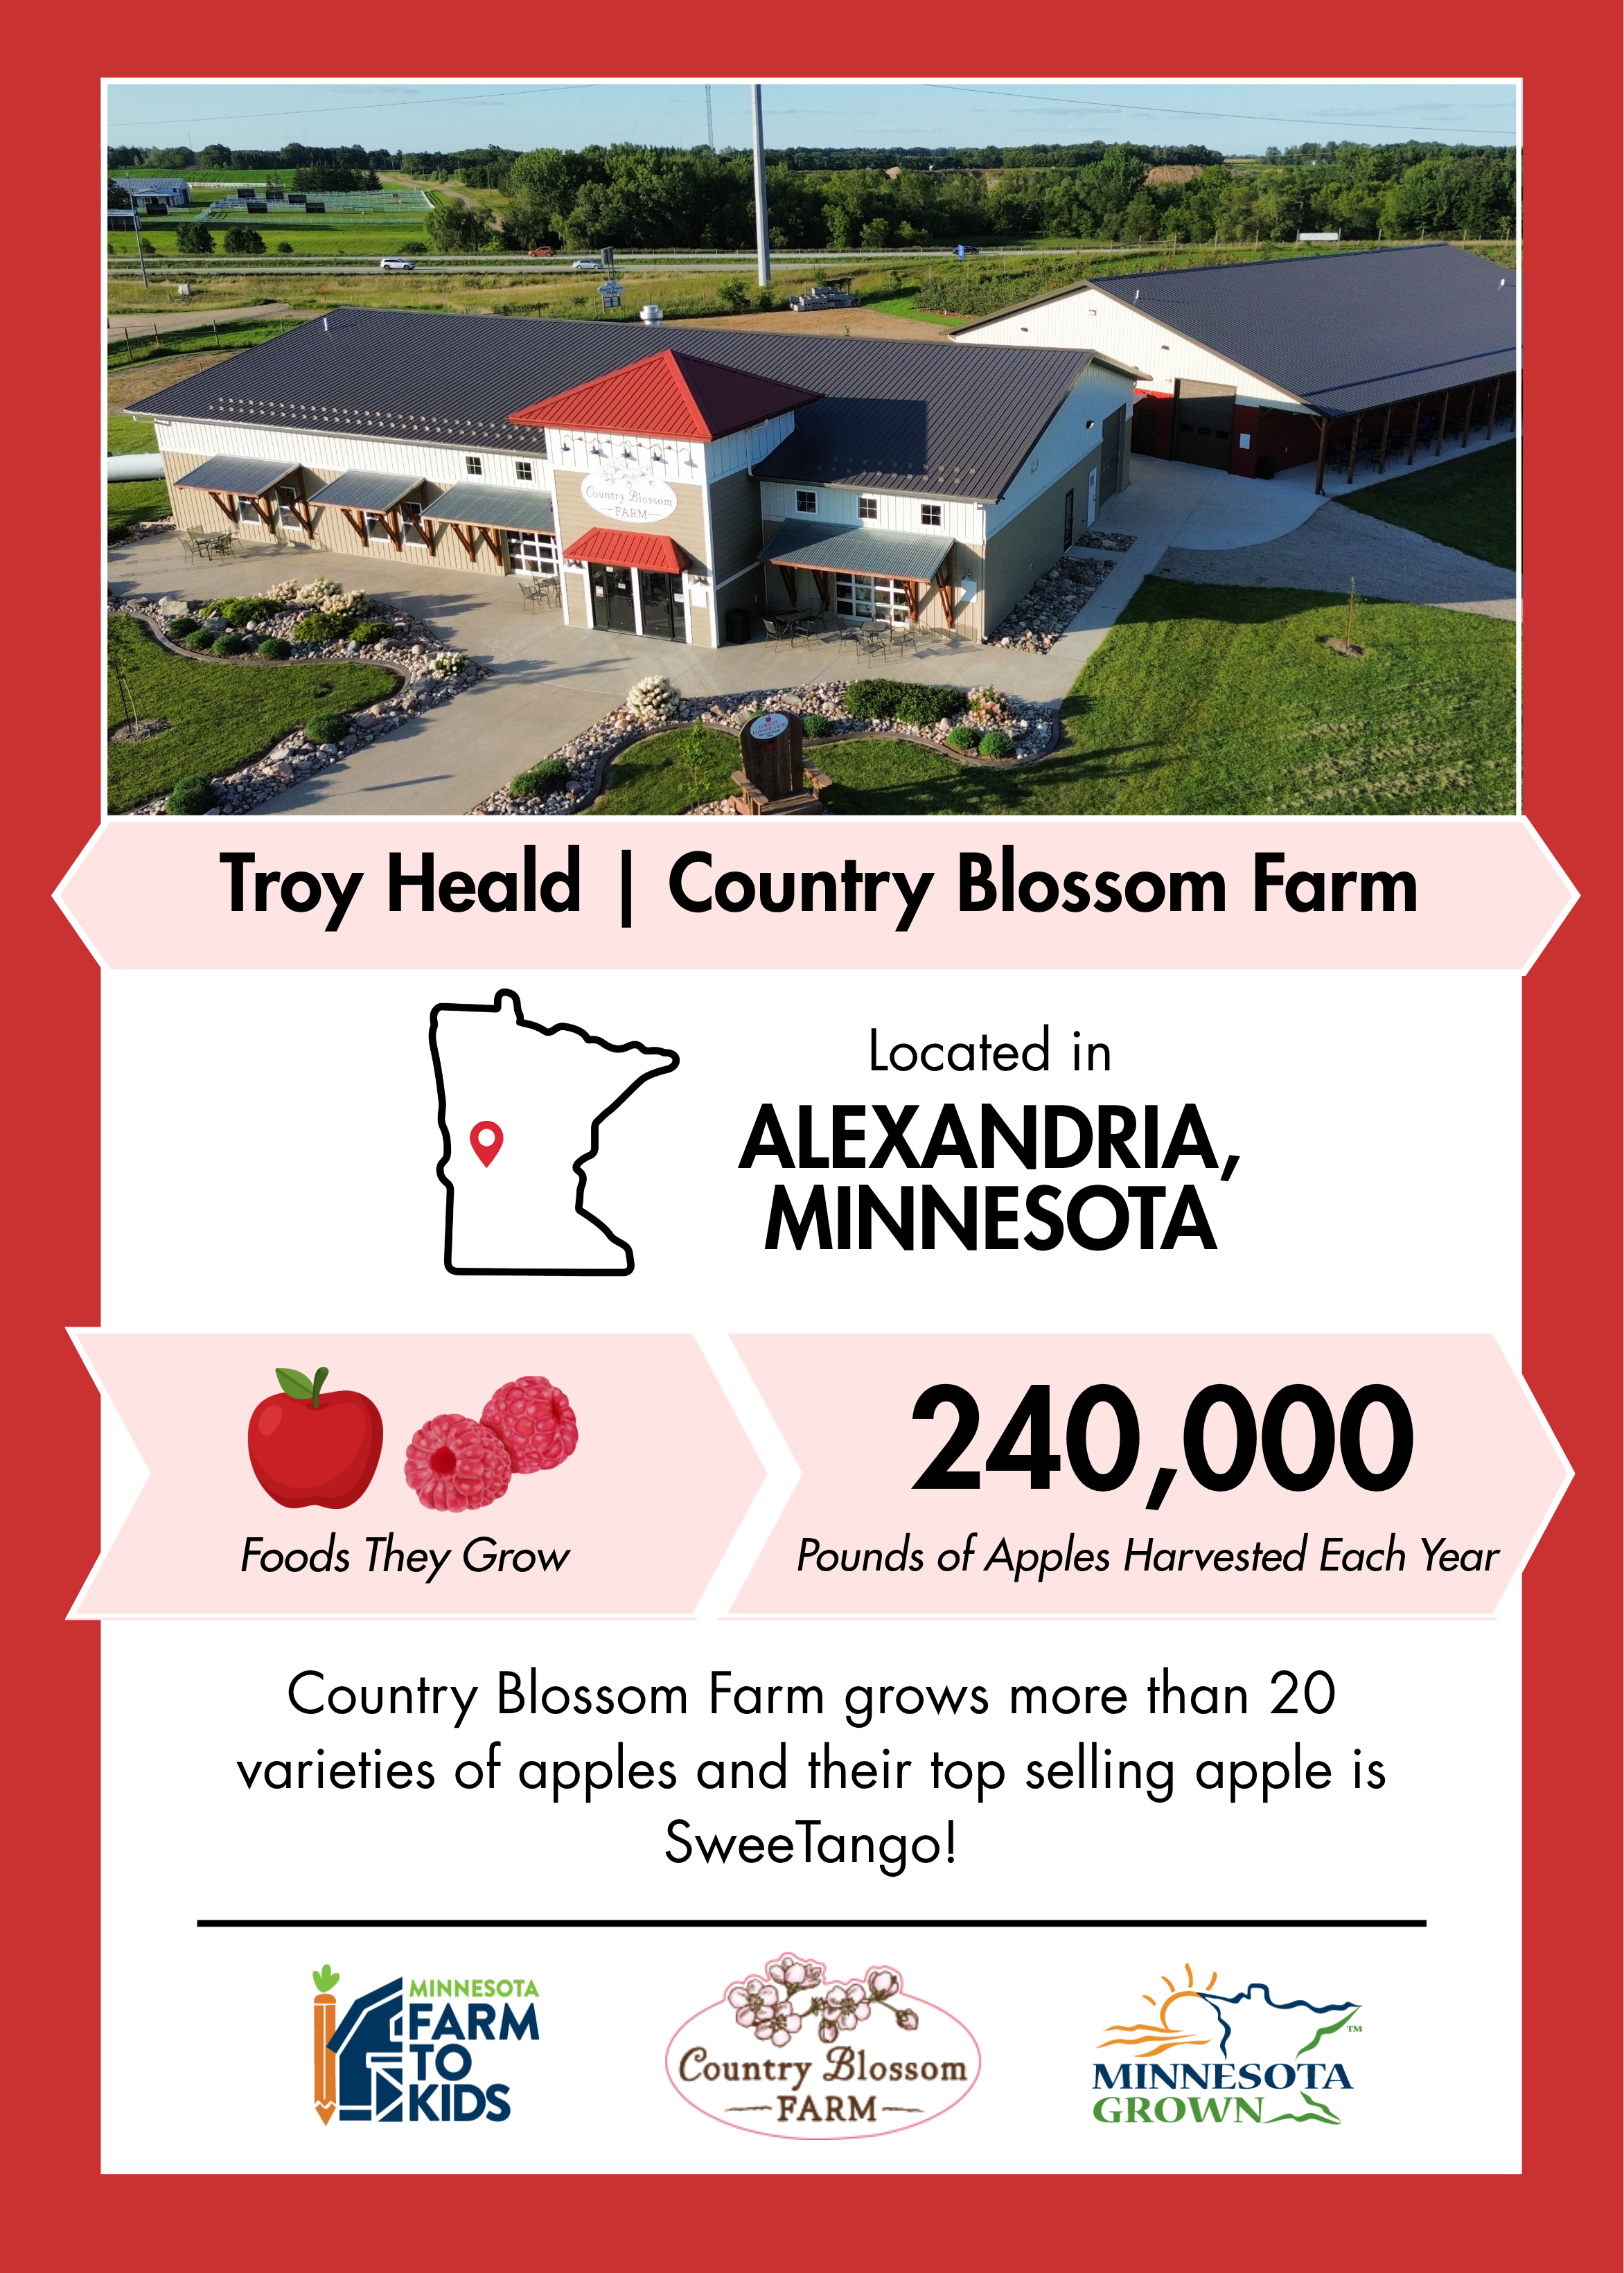
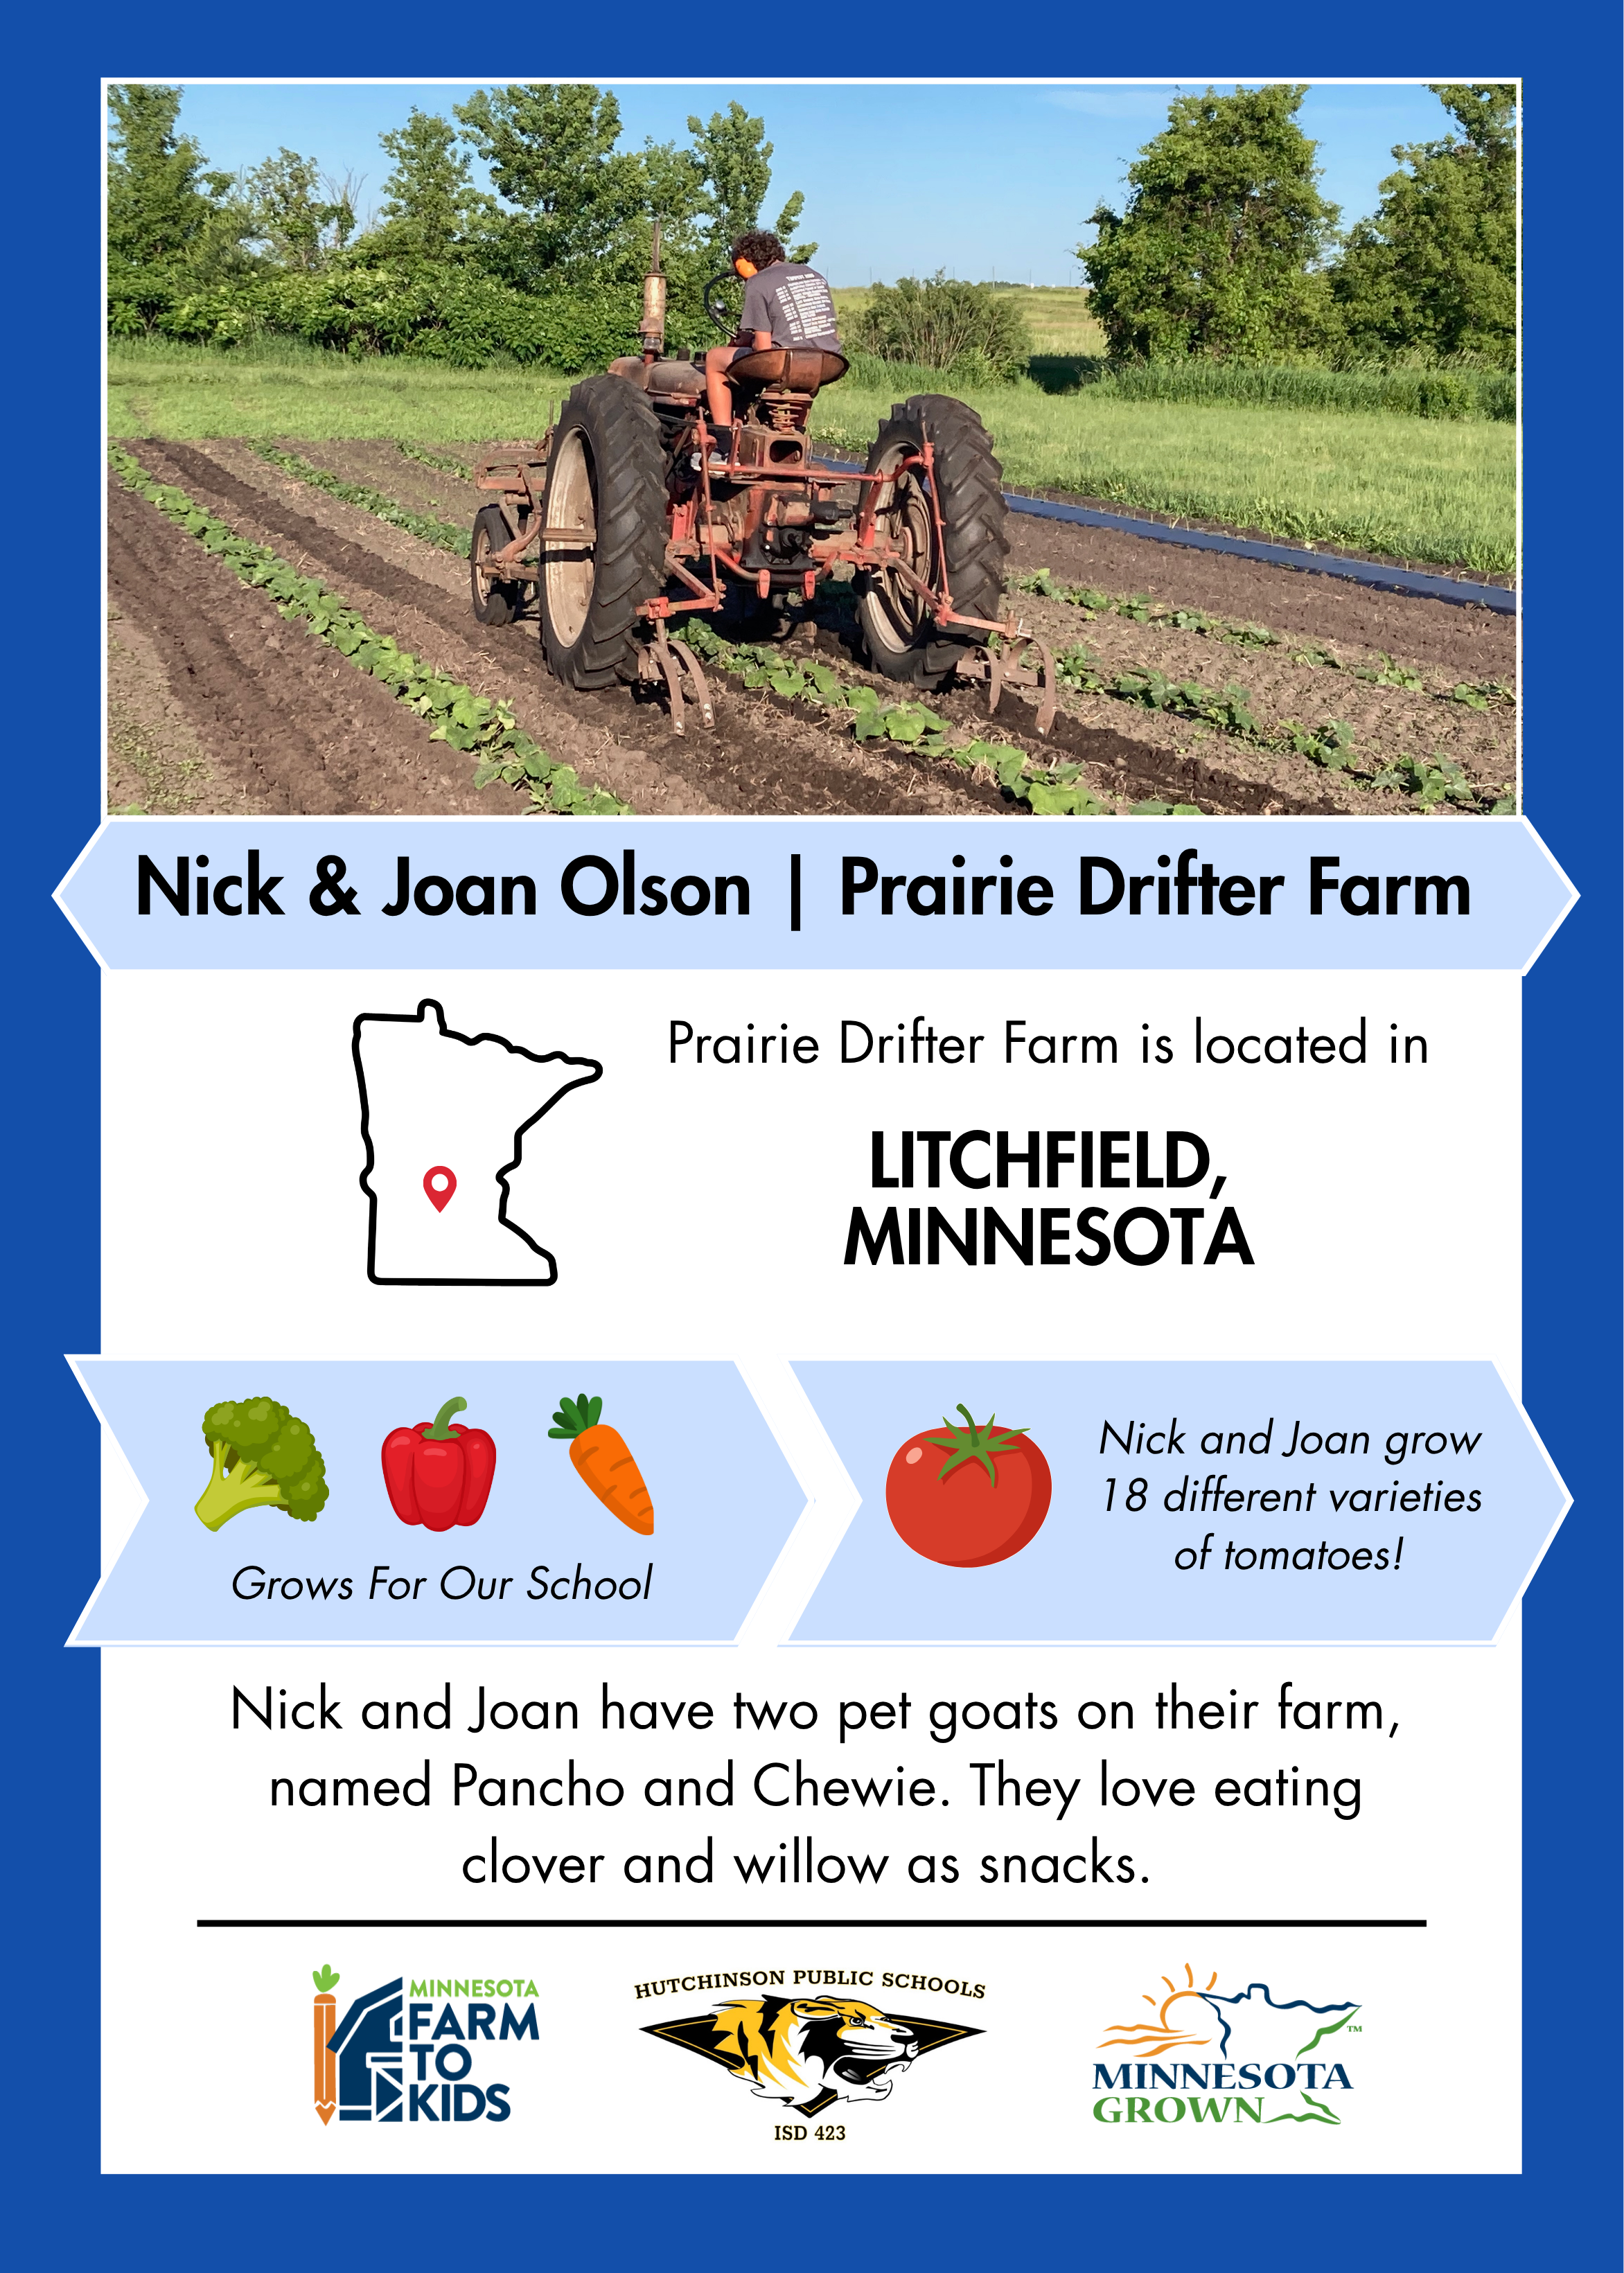
On the template, you’ll see ideas for what information to include. Use these ideas or add your own! Check out the example trading cards at the top of the page for inspiration and ideas.
Add photos to the pre-existing frames.
Make sure to move the pin on the Minnesota outline to the appropriate location!
Add your school or district’s logo to the bottom of the trading card (in between the Minnesota Farm to Kids and Minnesota Grown logos)
Design Tips and Tricks
First time using Canva? No problem! Canva created an awesome resource for new users, with all kinds of tips and tricks: How to Use Canva: A Beginner’s Guide. Below, we’ve highlighted some important features that will be helpful in designing your trading cards. If you’re really stuck on something, don’t hesitate to look online.
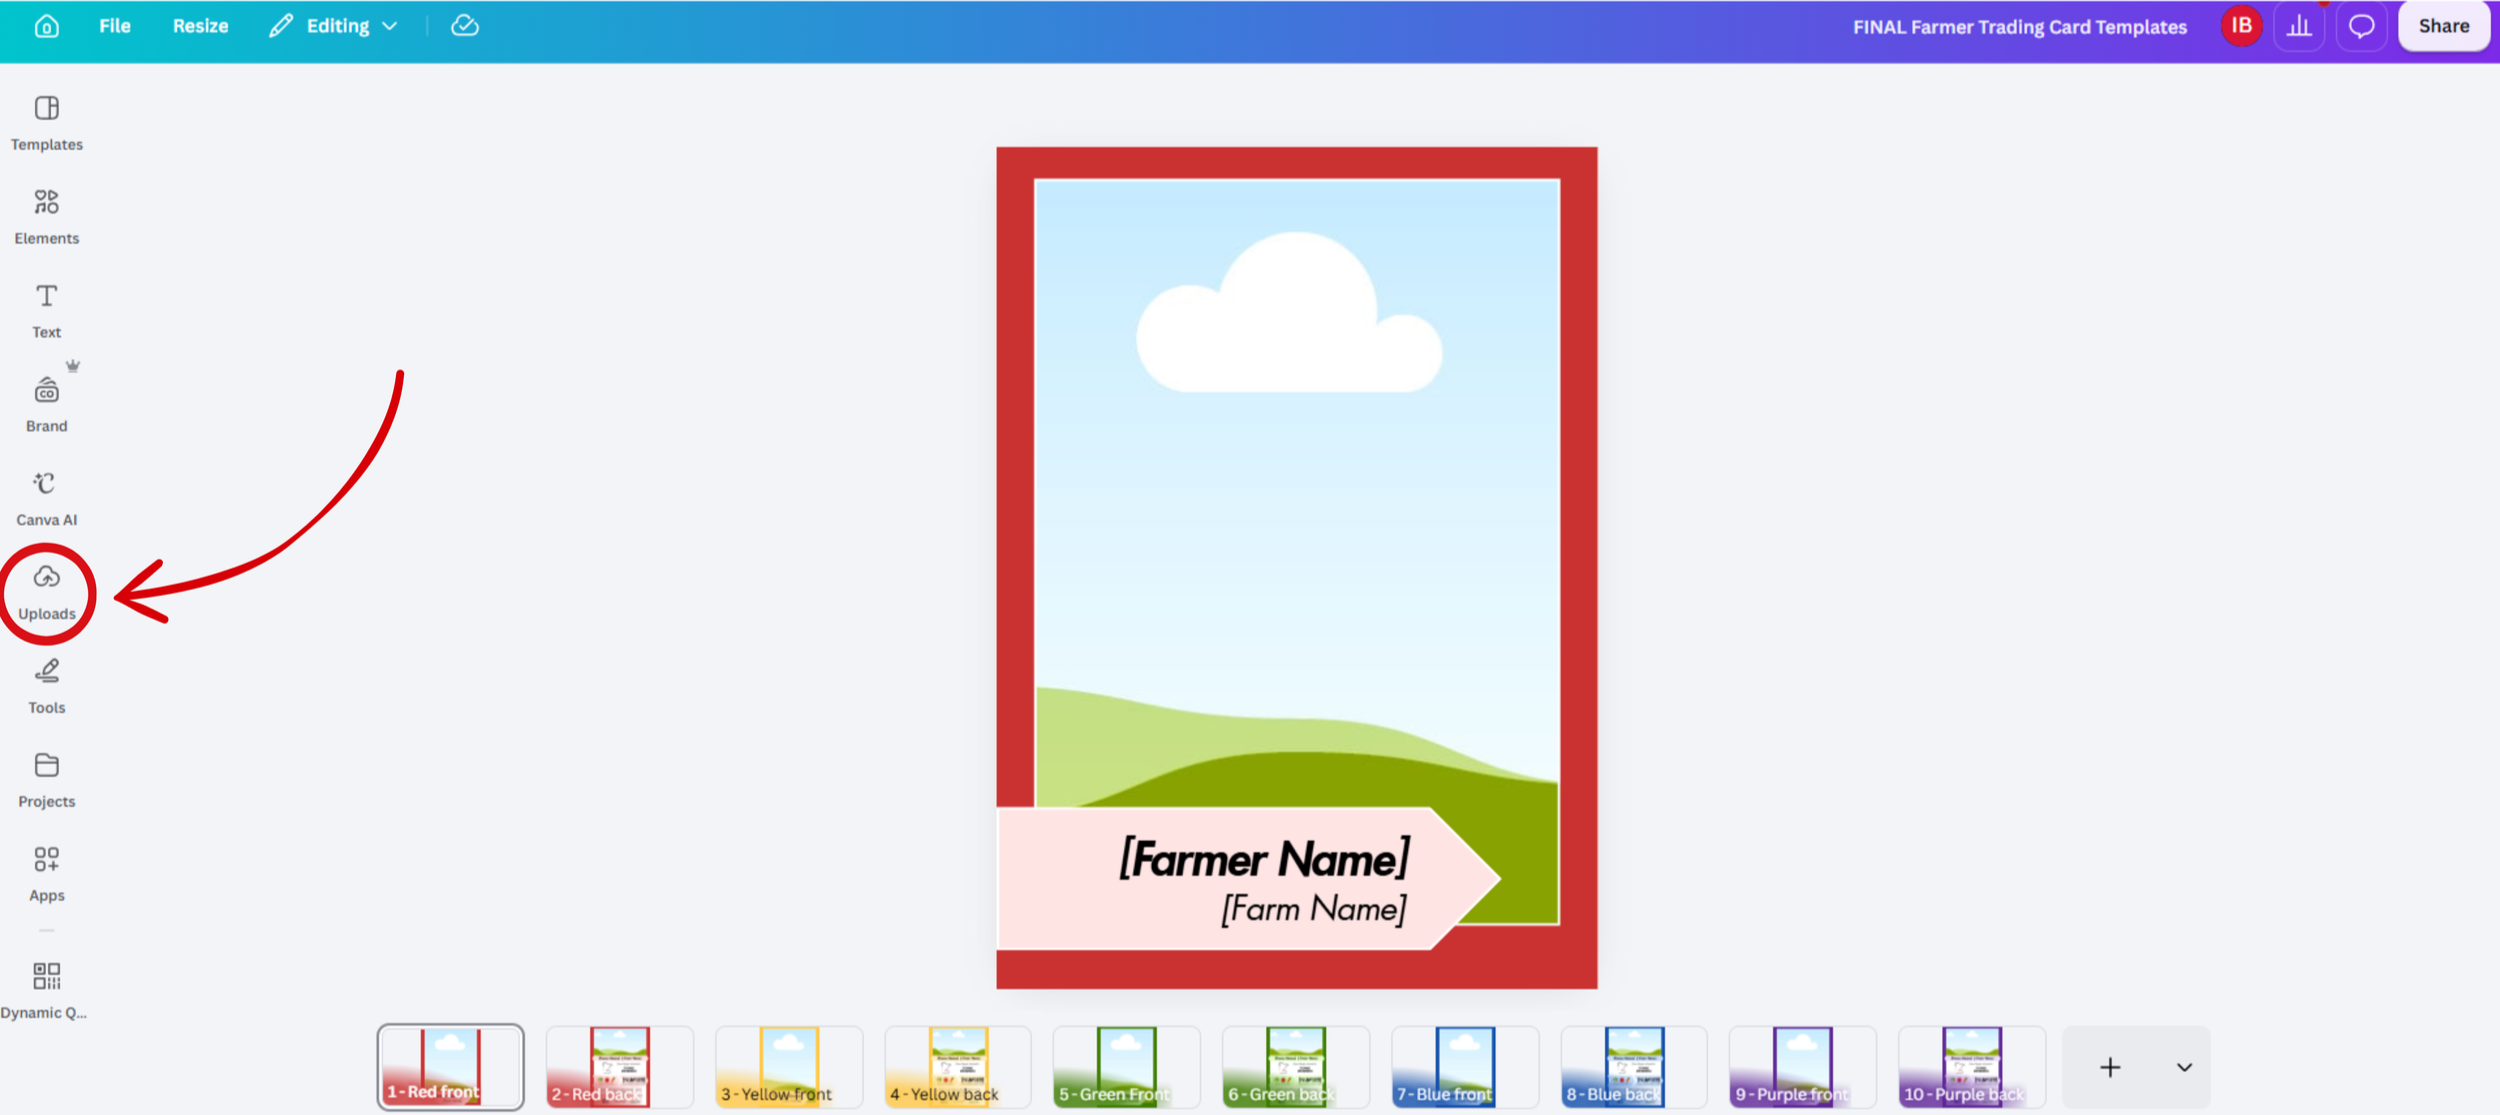
Adding photos: To add your own photos to the trading cards, upload them to your Canva account. Do this by clicking “Uploads” on the left side panel, and then “Upload Files” to upload photos from your device. Once you’ve uploaded your photos, you can drag them onto the design. Hover a photo over an existing frame to fill it. Double click the photo to crop and adjust.
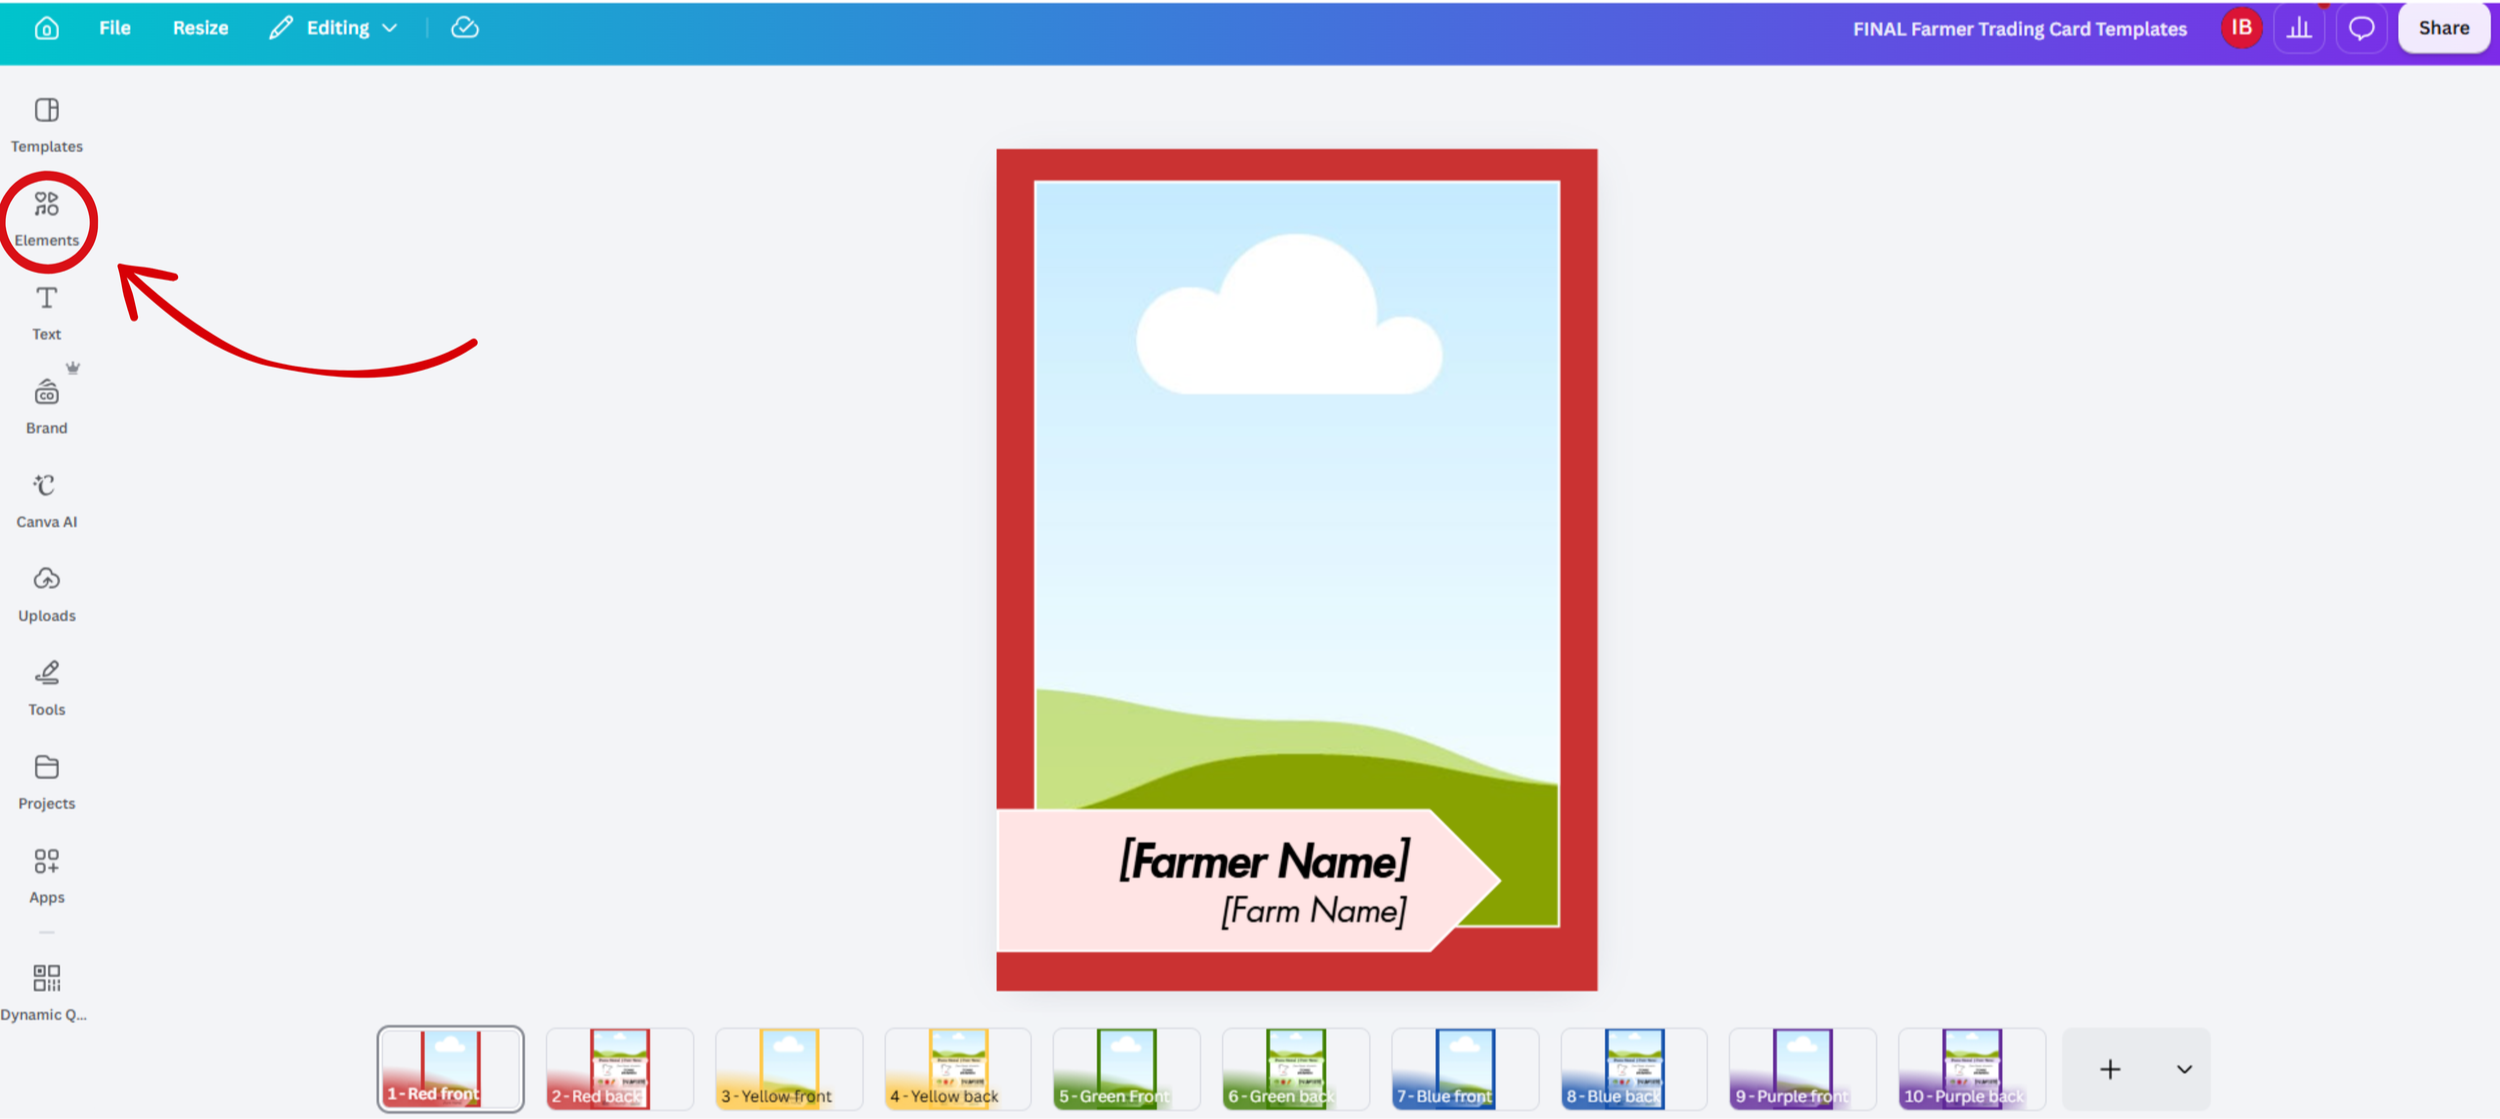
Using icons: You may choose to include icons to indicate what food a farmer grows/raises, what food they supply to your school/district, or what meals students can find their product in. To browse icons, click “Elements” on the left side panel, and then “Graphics.” Search for the icon you’re looking for and click on one to add it to your design.
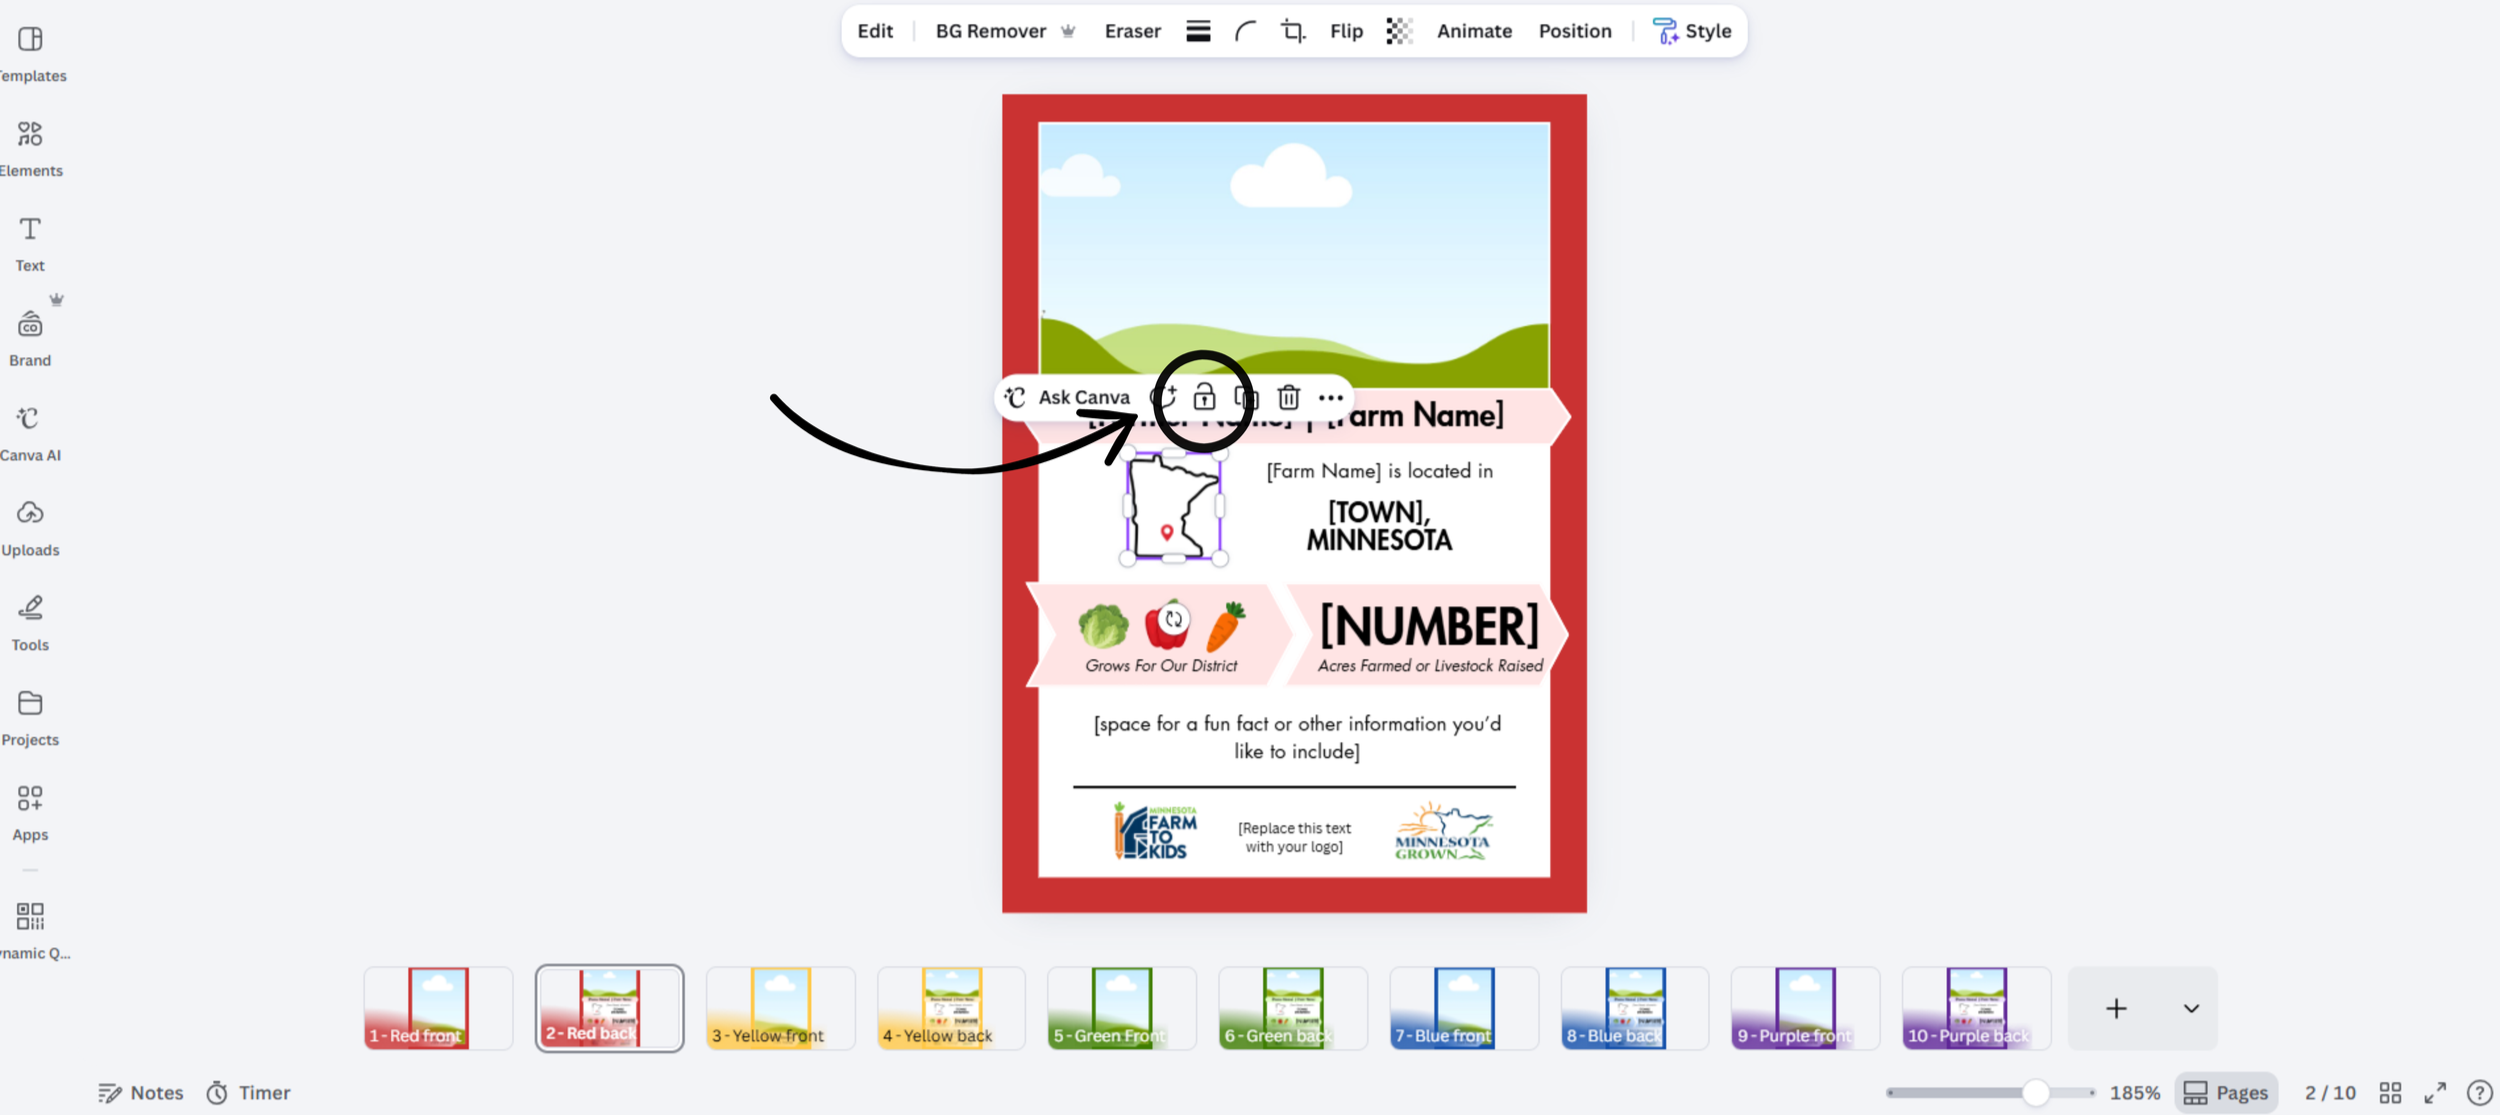
Locking features: If you don’t want to accidentally move icon, text box, photo, or another element, you can lock them in place! Simply click the element and press the lock icon.
Locking features together: If you want to link icons, text boxes, or other elements together, click and drag your mouse over the elements you would like to link. Then, select “group.”
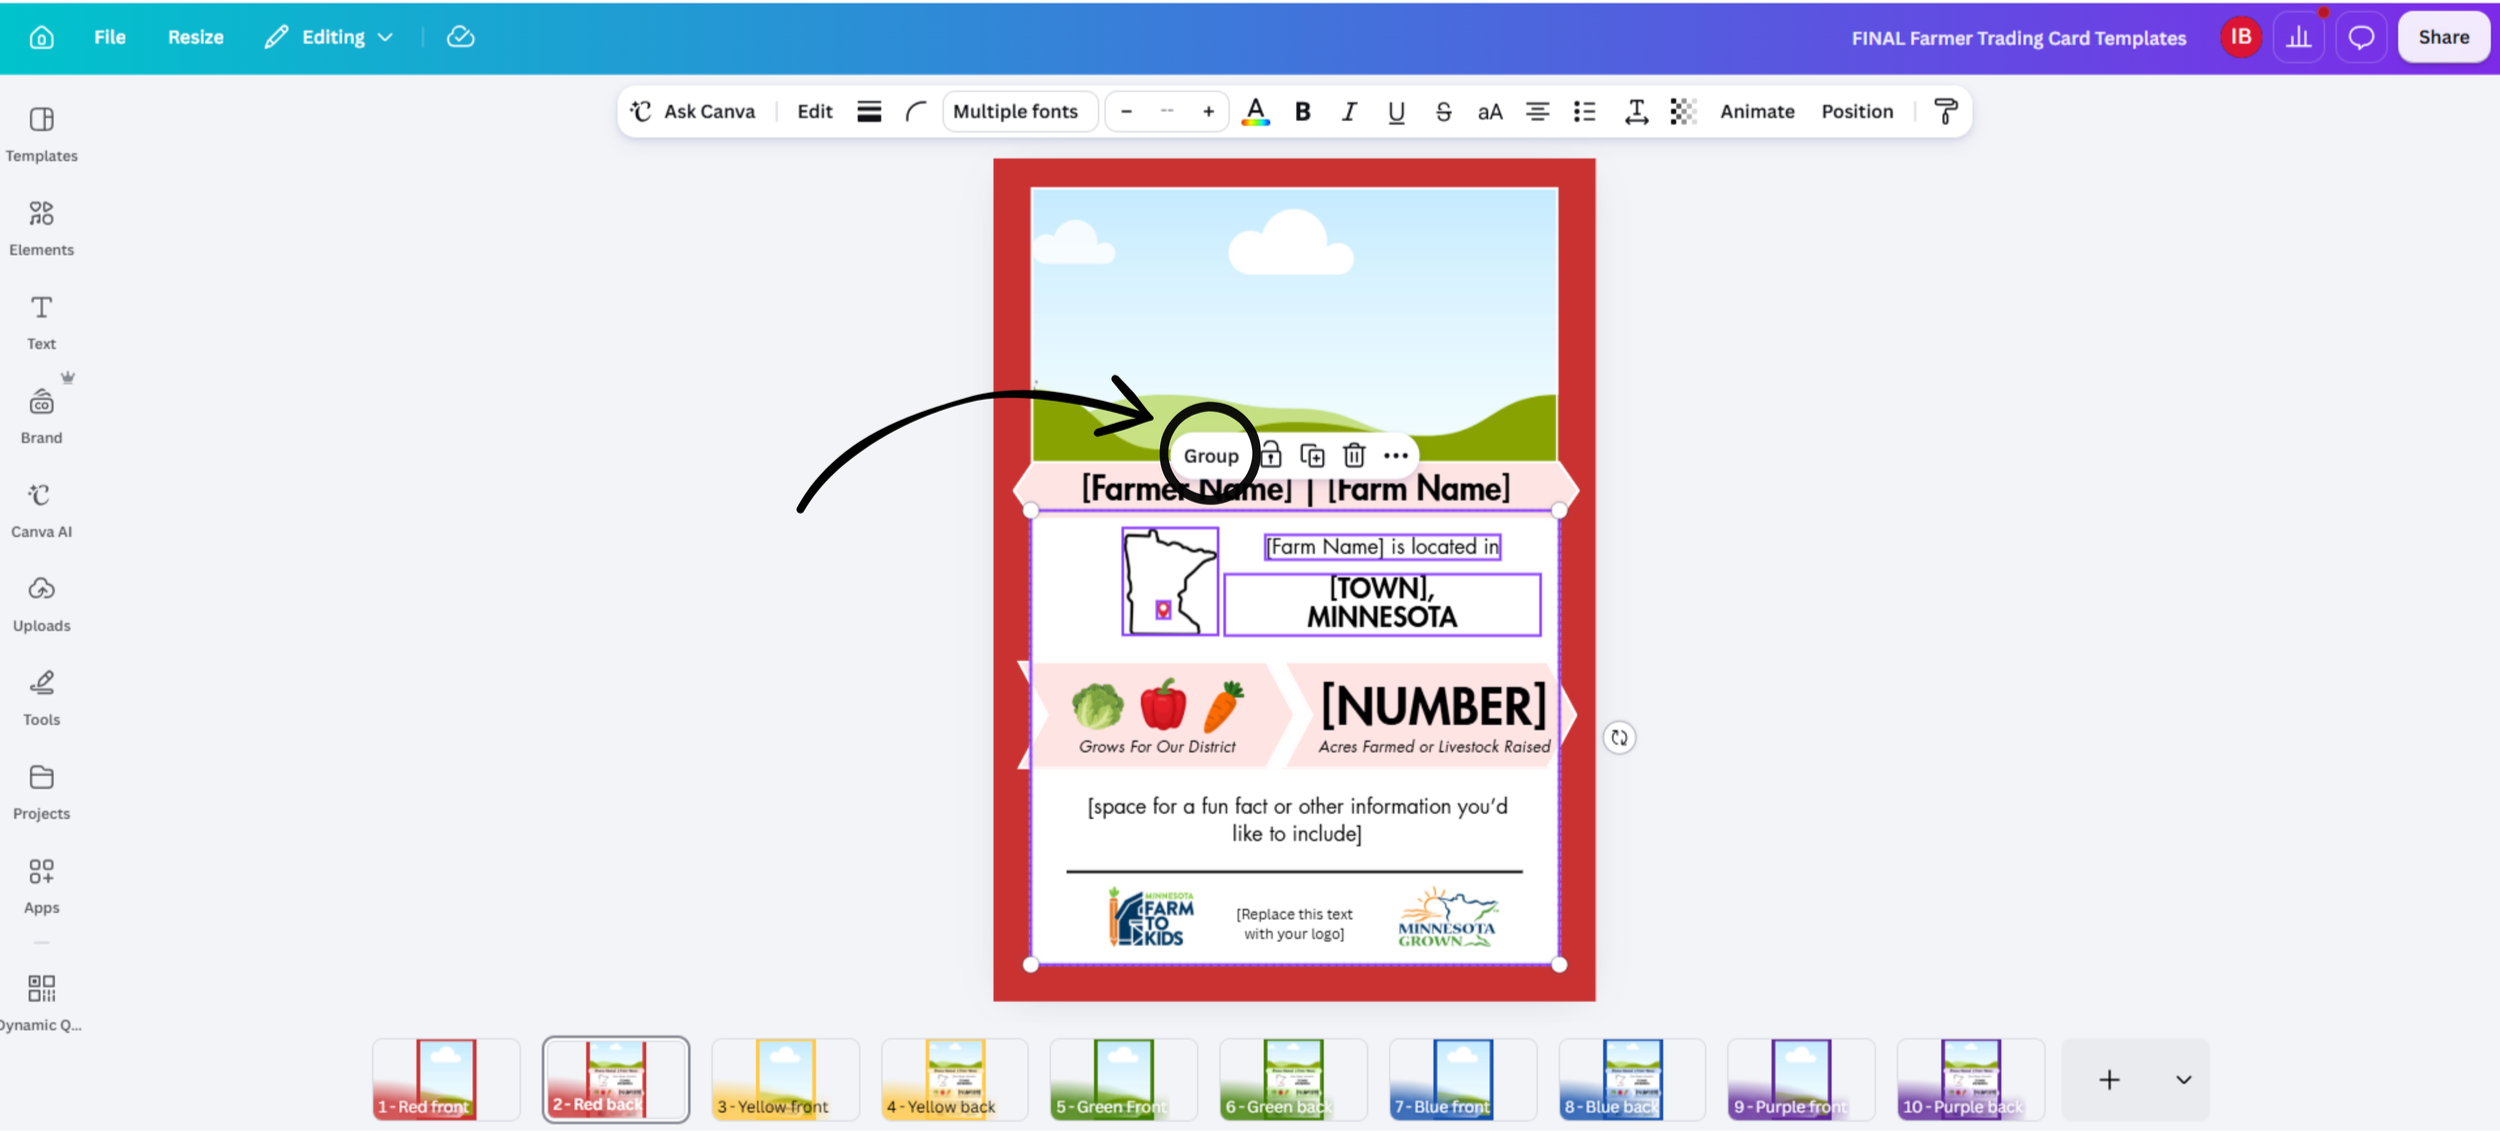
Printing the Trading Cards
We recommend printing your trading cards through a printing company for higher resolution and precision. However, we recognize that not everyone is able to do this. We’ve also included instructions for how to print your trading cards using a standard printer – but please be aware that every printer is unique and your printing process may look a little bit different.
How to print through a printing company
Choose a printing company to order from
Reach out to the printing company and let them know you’re looking to print a set of pre-designed trading cards. Let them know the number of designs you have and the number of each design that you would like printed. We recommend providing the following specs to your printing company as guidance, although they may have their own recommendations:
Size: 2.5 × 3.5 in
Color: 4/4 full color
Stock: 16ptc2s with rounded corners
Once you’ve received a quote and have approval to move forward, go through your school or district’s standard ordering process.
Send the printing company your designs (sometimes referred to as artwork). They will likely request that you send either a vector file or print-ready PDF. You can only save your designs as print-ready PDFs through Canva (not vector files). Below are instructions for how to save your designs as print-ready PDFs:
In your Canva design, navigate to “share,” then select “download”
Under “File type,” select “PDF”
Under “Presets,” select “Print”
If you have Canva Pro, click on the drop-down menu under “Color profile” and select “CMYX - best for professional printing”
*If you do not have Canva Pro, you will not be able to save your file with CMYX coloring. Let your printing company know, and see if they’re able to print your design anyways.
Under “Advanced settings,” toggle on the “Crop marks and bleed” option.
Click “Download”
Work with your printing company to get the trading cards shipped to you.
How print using a standard printer
Download your designs as a PNG to your computer (share > download > file type > PNG)
If you have Canva Pro, save your PNG at the highest size/resolution possible.
You may have to extract/unzip the files to access them.
Create a google document.
Upload the FRONT of your design to the document. Resize the image to be 2.5 in x 3.5 in. Copy and paste the image so that there are 4 duplicates on the page. Adjust the positioning so they all fit.
On the next page, upload the BACK of your design to the document. Follow the same process that you did on the first page. It’s important to make sure that the positioning of the images on the second page is the exact same as the positioning of the images on the first page.
Print the document, making sure you’ve selected the “Print front and back” option. Print as many copies as you’d like.
We recommend printing on cardstock for more durability!
Using scissors or a paper cutter, cut out each trading card.
Optional: laminate the trading cards or put them in plastic sleeves for more durability!
Using the Trading Cards
Once you have your farmer trading cards in hand, use the following ideas as inspiration for engaging students and maximizing the fun.
In the lunchroom: Hand out trading cards during mealtimes or taste tests, especially when you’re serving meals with products grown by one of your featured farmers.
Use the trading cards to incentivize students to try new foods – hand them out to students who participate in a taste test or add a local food to their lunch tray
In the classroom: Hand out trading cards in the classroom after teaching an agriculture focused lesson or featuring a local farmer.
Use the trading cards as prizes for correctly answering ag themed trivia questions
Use the trading cards as discussion prompters – pass them out and ask students to discuss questions like: What can you learn about this farmer from their trading card? What questions would you want to ask this farmer if you met them in person? What challenges do you think this farmer faces in farming?
At school events: Hand out trading cards at back-to-school and other community events.
Set up a table with the trading cards displayed for attendees to pick up
Use the trading cards as raffle prizes
Hand out trading cards in event bags/packets/folders
Host a signing event: Invite one (or more) of your featured farmers to your school to meet students and sign their trading cards.
Promote the trading cards: Build excitement surrounding the trading cards by putting up “collect them all” posters, highlighting them on your website, including them in newsletters, and mentioning them in school-wide announcements.